Alteration order
Write what bothers you; where to alter and by how much is marked on a drawing, with steps and a pattern if you do it yourself.
Lay a garment flat with an A4 sheet and take one photo from above. You get a pattern you can print and cut, and an alteration order to hand to a tailor.
Make a pattern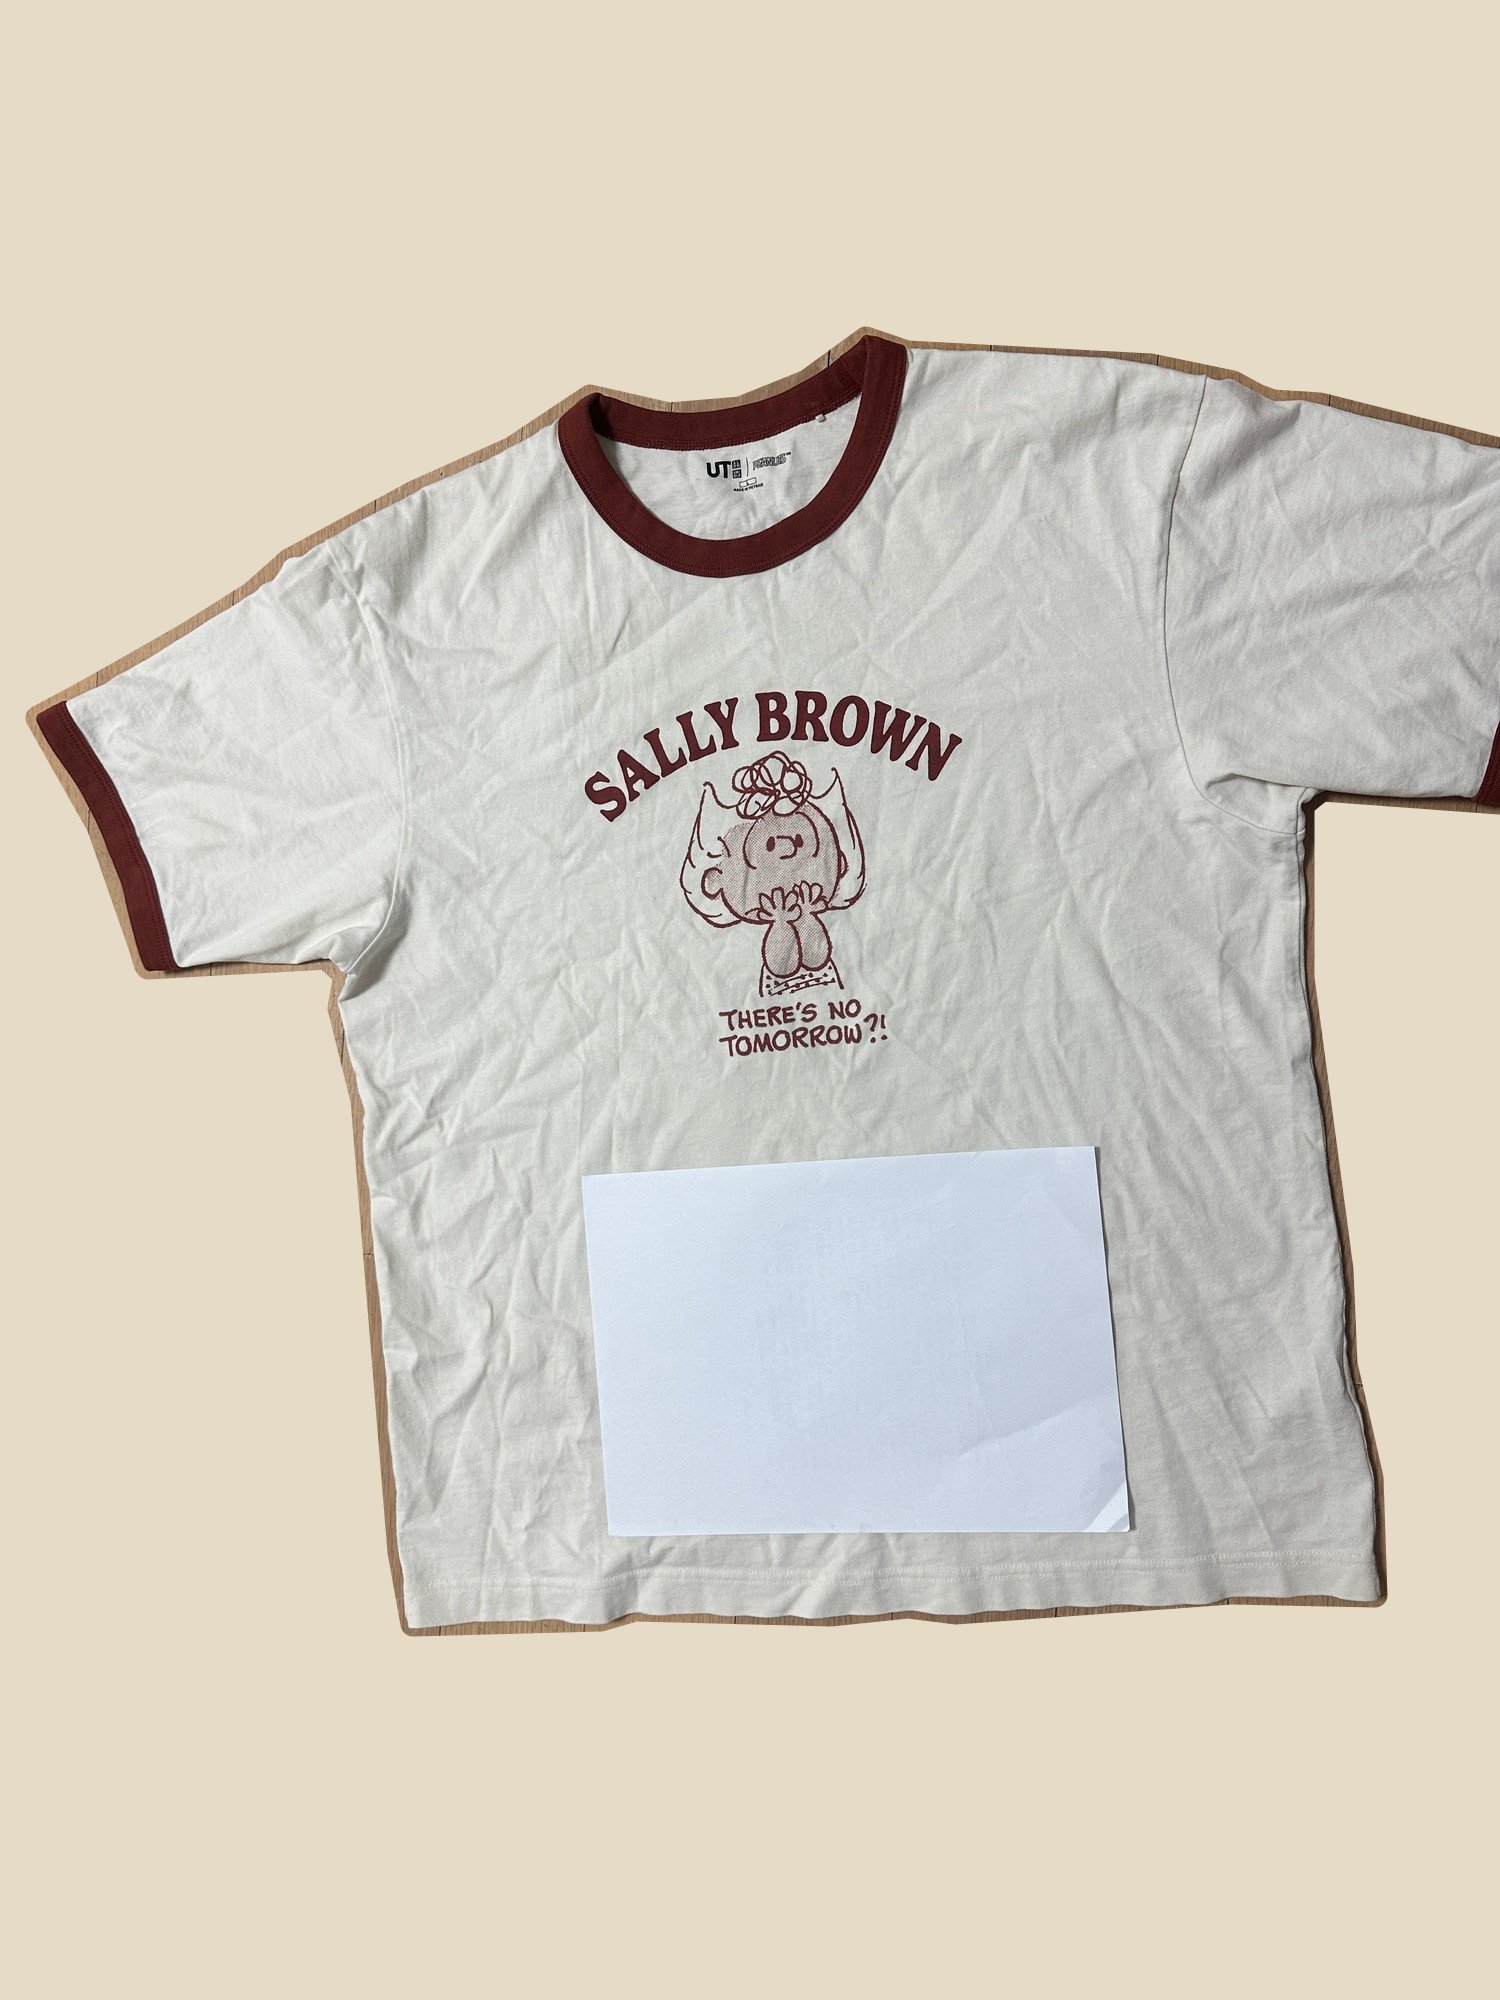
The person who wears it picks or writes what bothers them. Where to alter, and by how many centimetres, is marked on a technical drawing. Show it to a tailor as it is, or do it yourself with the steps and an actual-size alteration pattern.
Add body measurements taken with a tape and it also finds where to take in or let out.
“I use a wheelchair. When I sit, the back of my trousers slides down and my back shows, and the fabric bunches up at the front. The hem rides up maybe 3 cm when I'm sitting. Also my left leg is in a cast and the trouser leg won't go over it.”
1Raise the back rise
5 cm
Add a curved insert at the back waist to raise the back rise. Ready-made wheelchair trousers are cut about 5 cm higher at the back. Measure how far it drops when you sit to use your own amount.
2Lower the front rise
to be measured
Lower the front waistline at centre front to shorten the front rise. On an elastic waist, restitch only the front elastic lower. Measure the height of the fold when you sit and enter it to get the amount; otherwise the tailor measures it.
3Let the hem down
3 cm
Let the hem down 3 cm and restitch. First check that at least 3 cm of hem allowance is left.
4Open the outseam, add snaps
to be measured
Unpick the left outseam up from the hem and close it with large snaps. Open it to the cast's height plus 5 cm. Measure the cast's height and enter it to get the amount; otherwise the tailor measures it.
Elastic-waist trousers, 4 changes. Hatching is fabric added, cross-hatching is fabric taken away, red dashes are new seams or openings. Try it on and check before altering.
The same T-shirt, measured from one photo and by hand. All 10 values fell within the ± the photo gave them; the largest gap was the length, 2.7 cm.
The shoulder seams were hard to see, so the shoulder points were tapped on the photo. What a photo can't see, like the front neck drop, is measured by hand.
| Flat | By hand | From the photo | Difference |
|---|---|---|---|
| Length | 70.0 | 72.7 ± 3.9 | +2.7 cm |
| Chest (flat) | 56.0 | 56.9 ± 2.7 | +0.9 cm |
| Shoulder | 51.0 | 53.2 ± 3.3 | +2.2 cm |
| Hem (flat) | 55.5 | 54.8 ± 2.6 | −0.7 cm |
| Sleeve | 23.0 | 22.8 ± 1.7 | −0.2 cm |
| Sleeve opening (flat) | 18.0 | 18.1 ± 1.0 | +0.1 cm |
| Bicep (flat) | 23.5 | 25.1 ± 1.6 | +1.6 cm |
| Neck width | 16.0 | 16.9 ± 1.7 | +0.9 cm |
| Armhole depth | 30.0 | 31.8 ± 2.1 | +1.8 cm |
| Shoulder drop | 6.0 | 5.9 ± 0.7 | −0.1 cm |
Pick one to start: measure your own garment from a photo, or, without one, draft it from typical measurements first.
Front and back on the fold, two sleeves. Ten flat measurements from the photo.
Start with this →Two fronts and two backs, elastic waist. Measures the waist, hip and rise.
Start with this →The T-shirt's pieces with long sleeves. Measures the sleeve length and opening.
Start with this →Front and back on the fold, two sleeves, rib at the hem, cuffs and neck.
Start with this →A T-shirt body down to the knee; works out the neck binding's length too.
Start with this →Two fronts, back on the fold, sleeves, collar, cuffs.
Start with this →Two zip fronts, a two-piece hood, rib bands at the hem and cuffs.
Start with this →Two values are enough: length and hem width.
Start with this →A waistband and a side zip. Three values: waist, length and hem.
Start with this →One body on the fold and two handles; box the bottom corners.
Start with this →One body on the fold, a neck strap and ties. The bib width comes from the photo too.
Start with this →One front and two overlapping backs. Only width and height.
Start with this →Two outer and two lining pieces; tells you what zip length to buy.
Start with this →Where the photo can't see, the value is marked for the tape.
Write what bothers you; where to alter and by how much is marked on a drawing, with steps and a pattern if you do it yourself.
Every seam labelled with its length, printed across A4 pages. A 10 cm square checks the scale.
One or two sizes up or down. Try it right below.
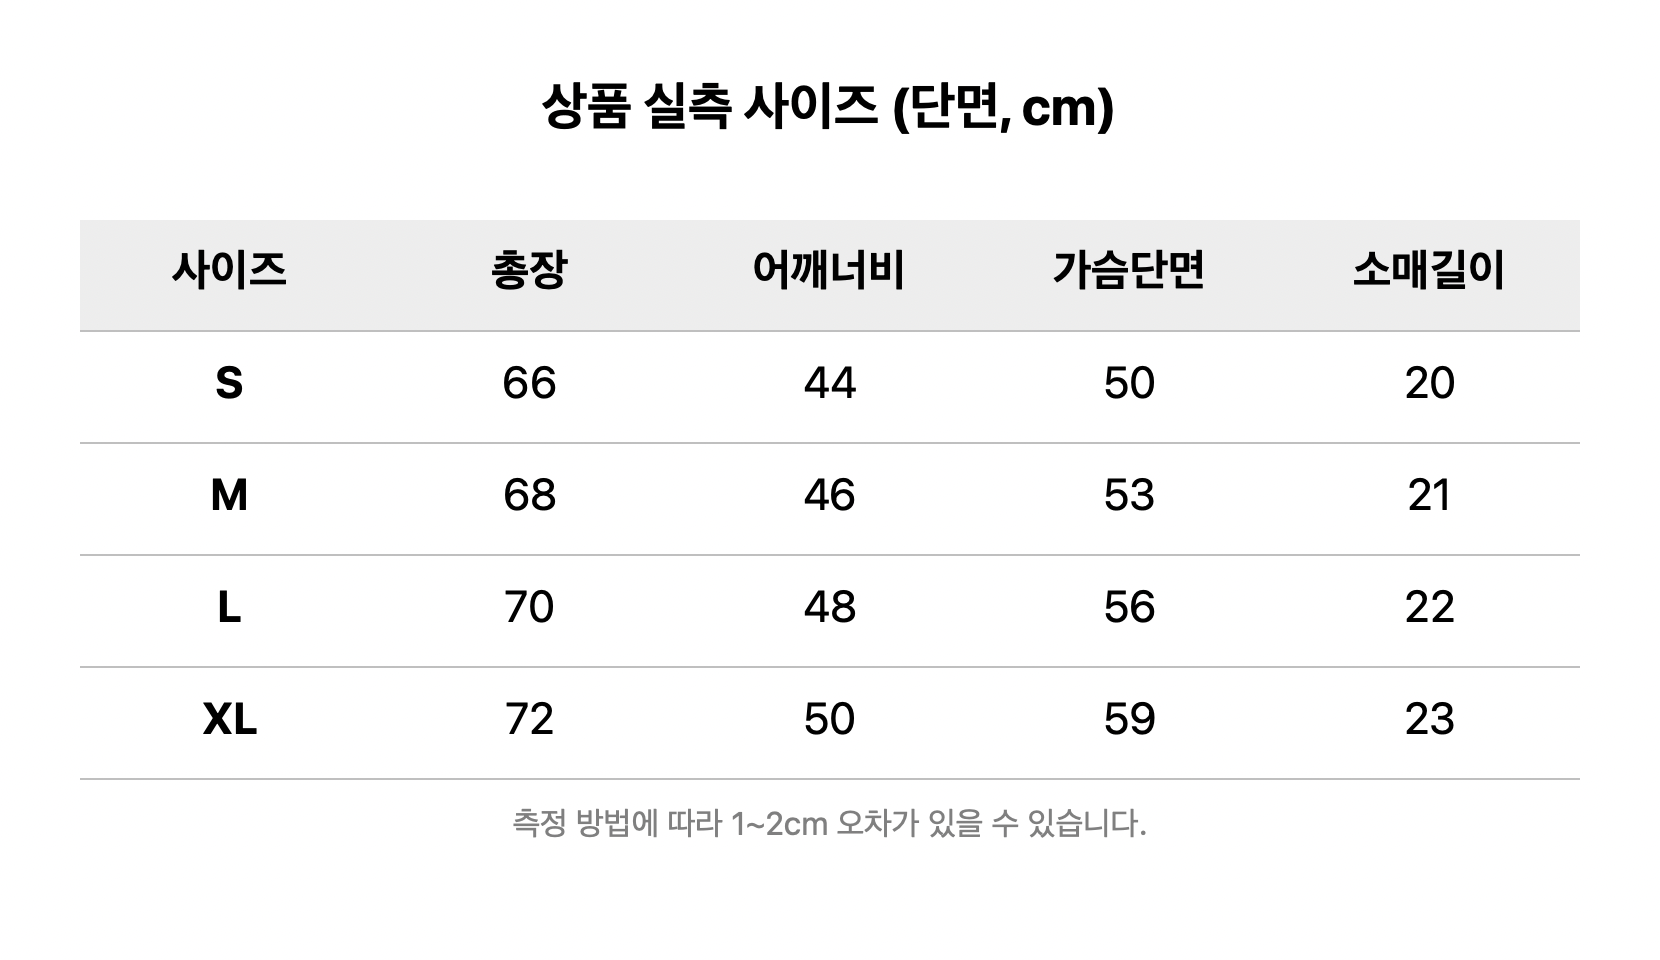
Reads a shop's size chart from a screenshot and picks the size that fits like your garment.
Enter the fabric you have and see whether the pieces fit, on grain.
The same T-shirt measured from the photo above. Pick a size: the measurements change and the pattern is drafted again from scratch.
My garment
| Flat | Mine | This size |
|---|---|---|
| Chest (flat) | 56.9 | 56.9 cm |
| Length | 72.7 | 72.7 cm |
| Shoulder | 53.2 | 53.2 cm |
| Sleeve | 22.8 | 22.8 cm |
| Hem (flat) | 54.8 | 54.8 cm |
| Armhole depth | 31.8 | 31.8 cm |
Each size moves the chest by 2, the length by 1.5 and the sleeve by 1 cm (flat), a common ready-to-wear step; the sleeve cap is redrawn to the new armhole.
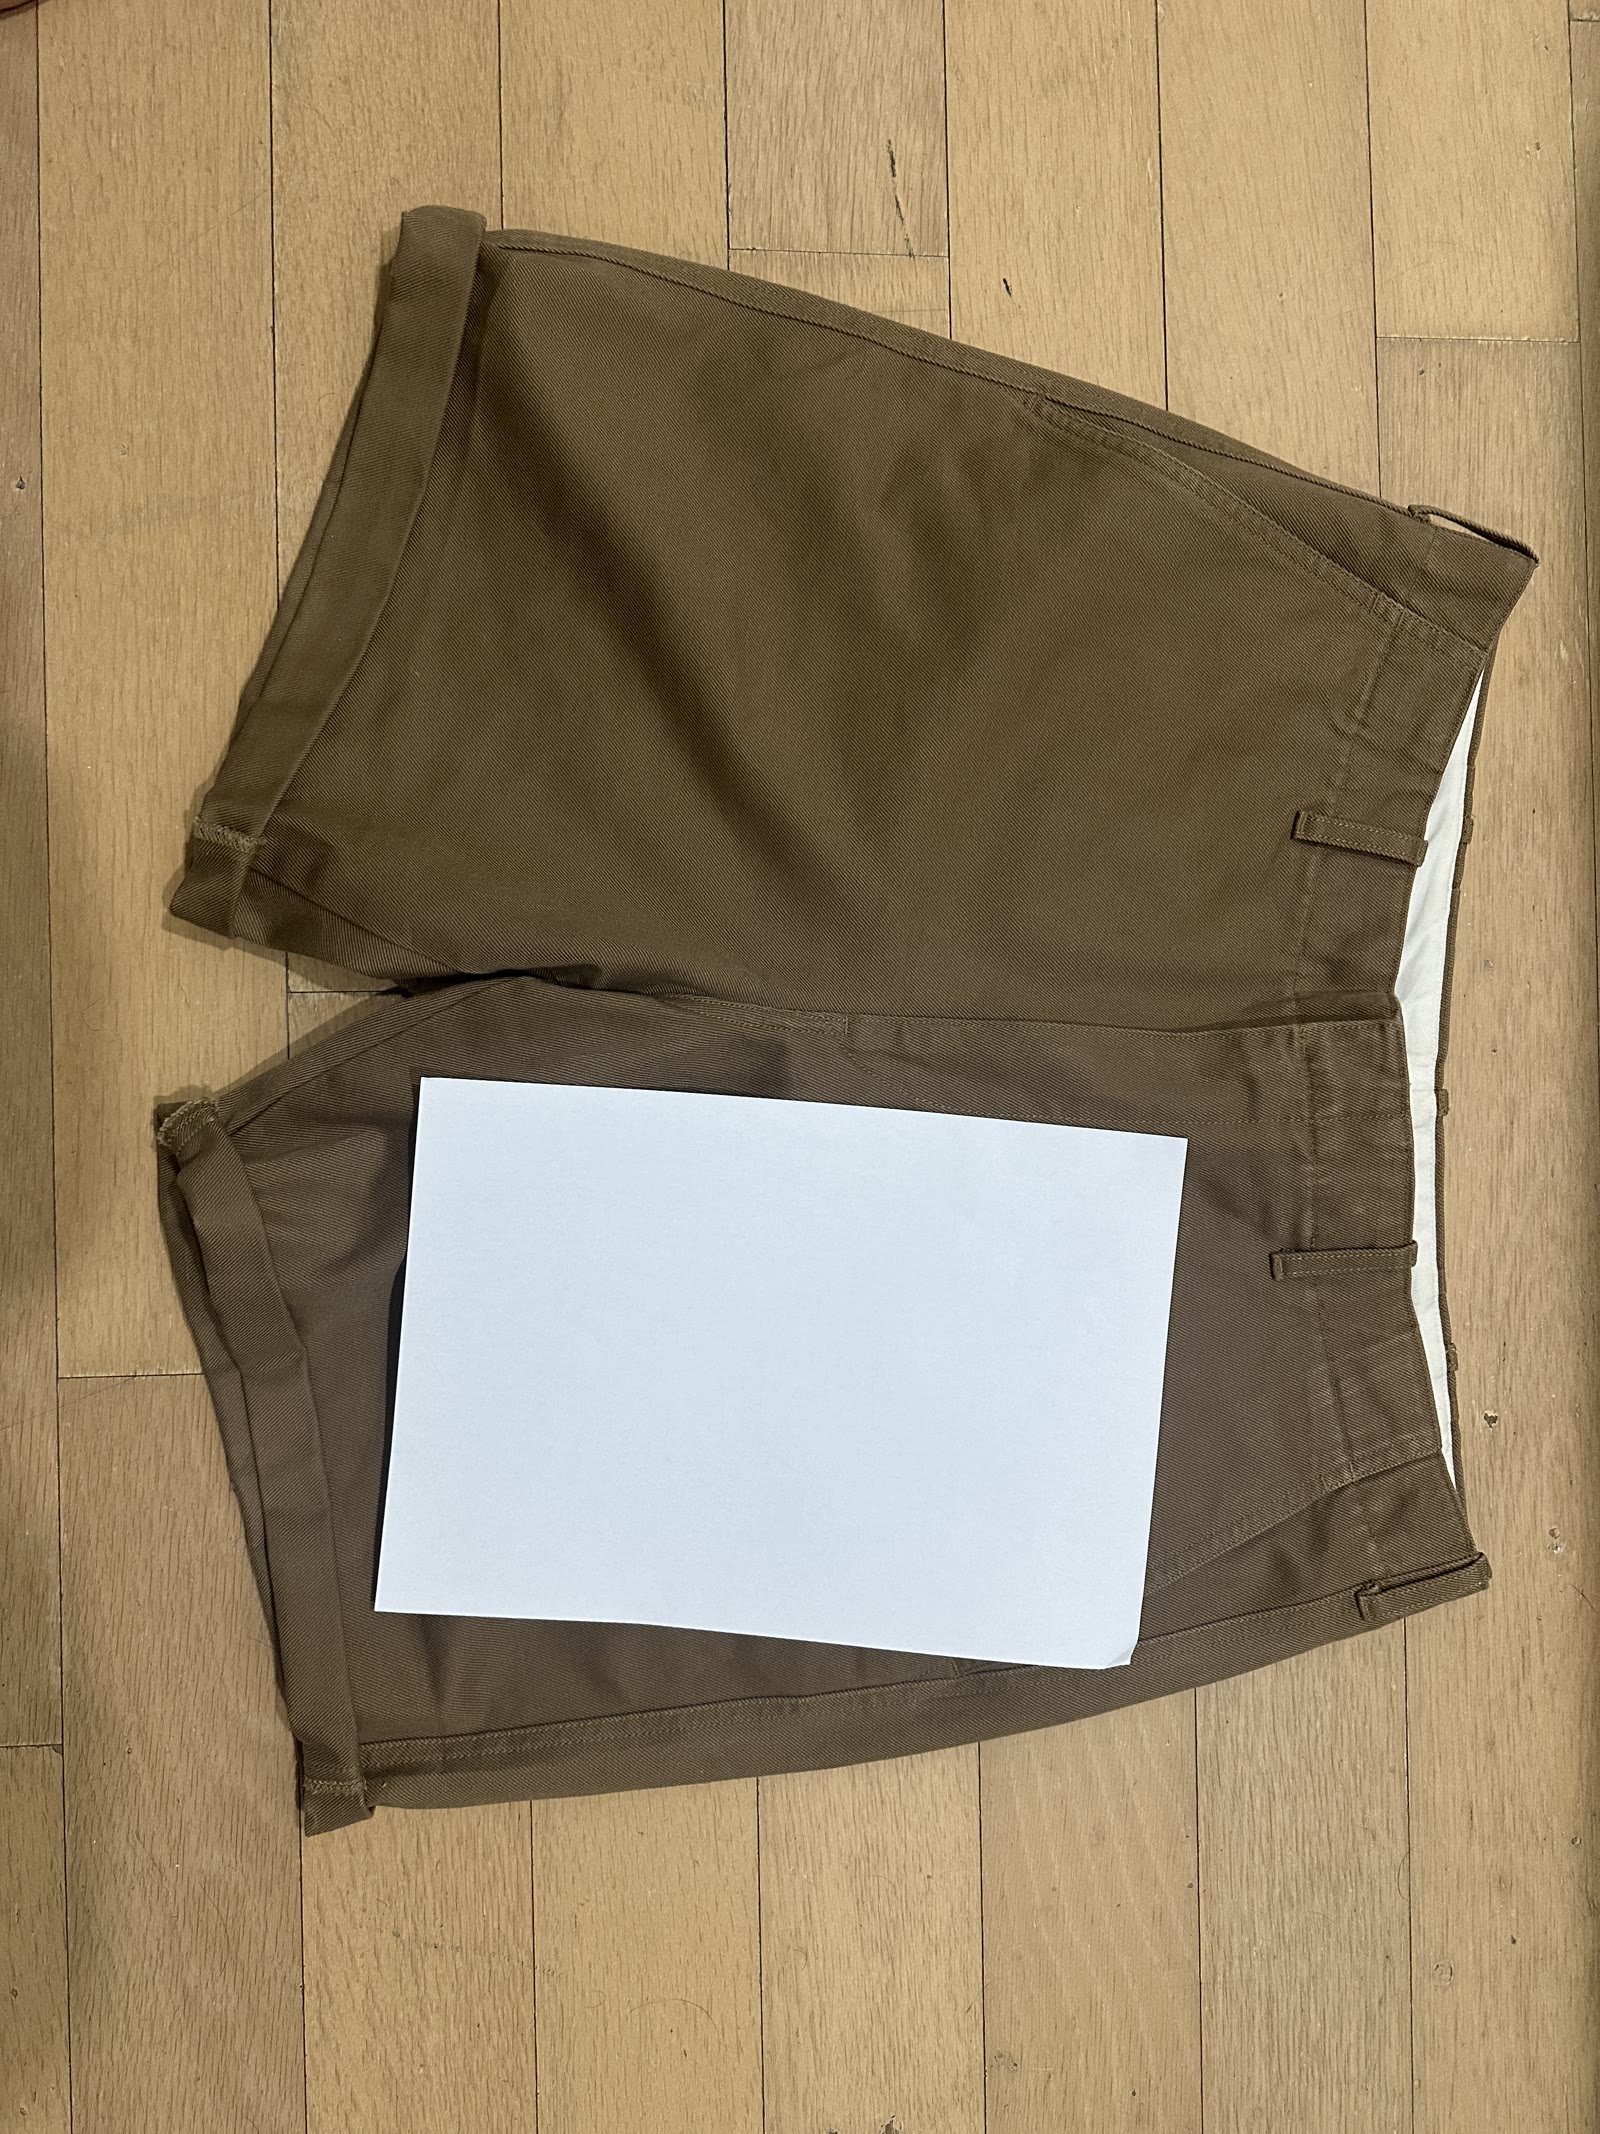
Lay the garment on the floor and smooth out the wrinkles with your palm. Keep sleeves and legs apart from the body.
Put an A4 sheet on or beside the garment. With all four corners in view, even a slanted shot is straightened out before measuring.
Hold the phone parallel to the floor and get the whole garment in one shot. A photo of the back fills in what the front misses.